I love using Apple CarPlay in my car, so much so that I replaced the head unit in my last car to get CarPlay functionality. So with my recent purchase of a Chevy Bolt EV, I was very happy it worked with CarPlay out of the box.
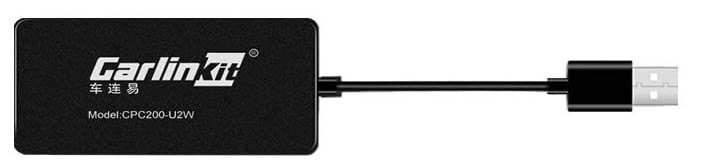
However, there was no good place to put my phone. I hate just about every phone mount out there, so for the last few cars I’ve driven, I’ve made my own mounts using my 3d Printer. This time around, I wanted to try something new, so instead of string a USB cable across the car, I picked up a wireless CarPlay adapter off of Amazon. I got the Carlinkit 2.0 Adapter, which has worked pretty well only needing the occasional unplug/re-plug routine.
And since I no longer needed to plug the phone in for CarPlay, I figured I’d also try adding a qi charger and simplify getting in and out of my car. So I set out to renew my phone holder design with the ability to wirelessly charge my phone.
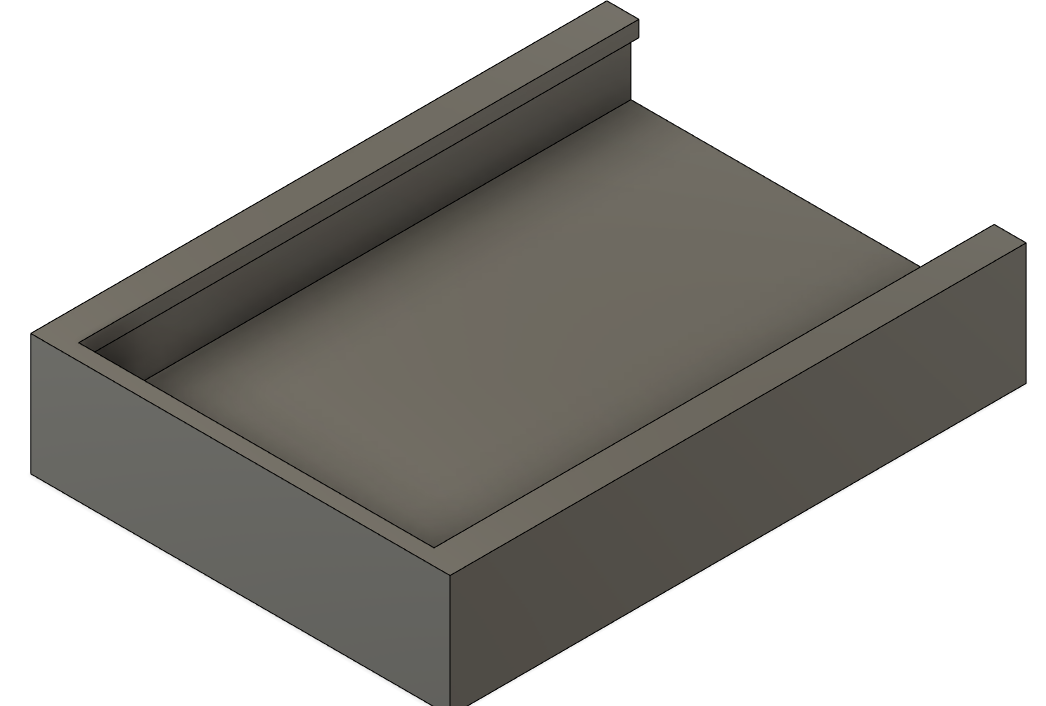
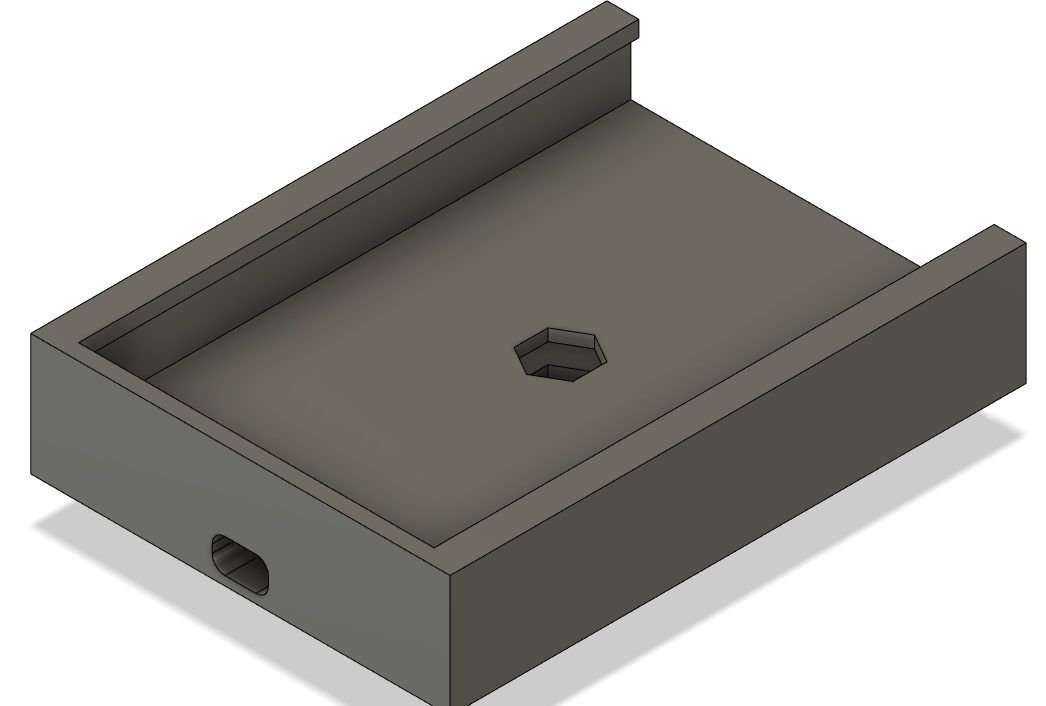
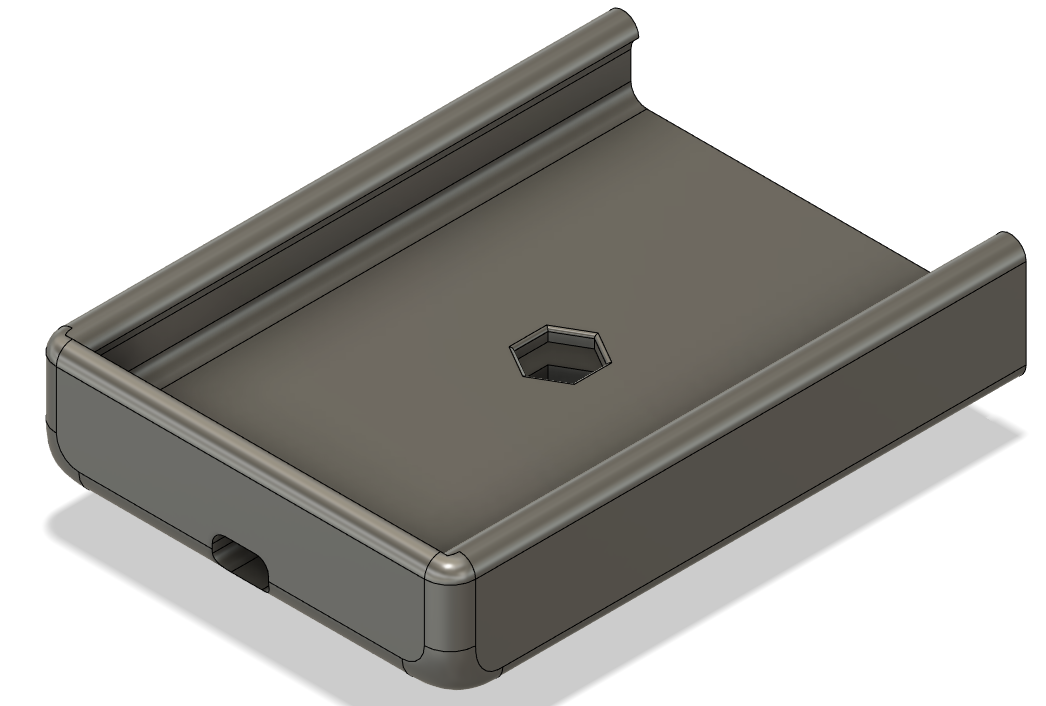
My first task was to recreate my old phone holder in Fusion360, since I no longer have access to SolidWorks now that I’m out of school. This also meant I had to learn Fusion360 as well. Luckily, I’ve watched a lot of John Saunders’ NYC CNC videos on YouTube so I already had a pretty good feel for the program, not to mention moving from one CAD package to another is a lot easier once you know the basics (just like learning a new programming language).
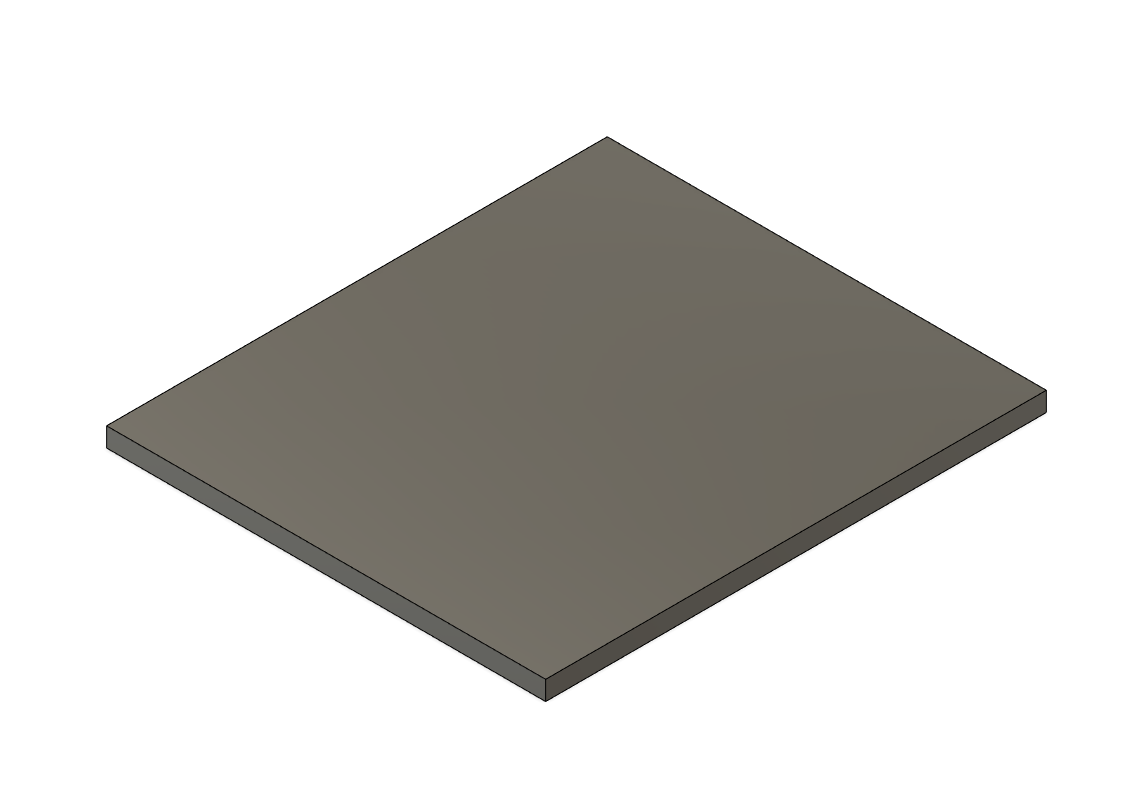
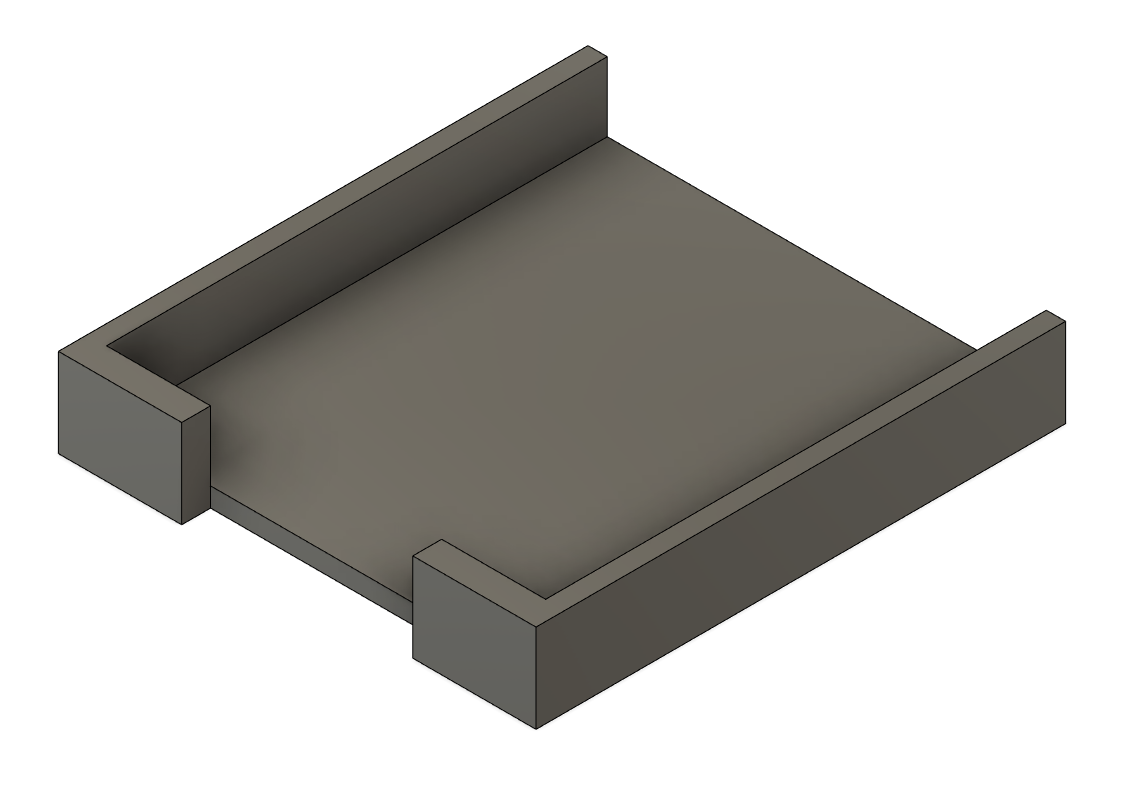
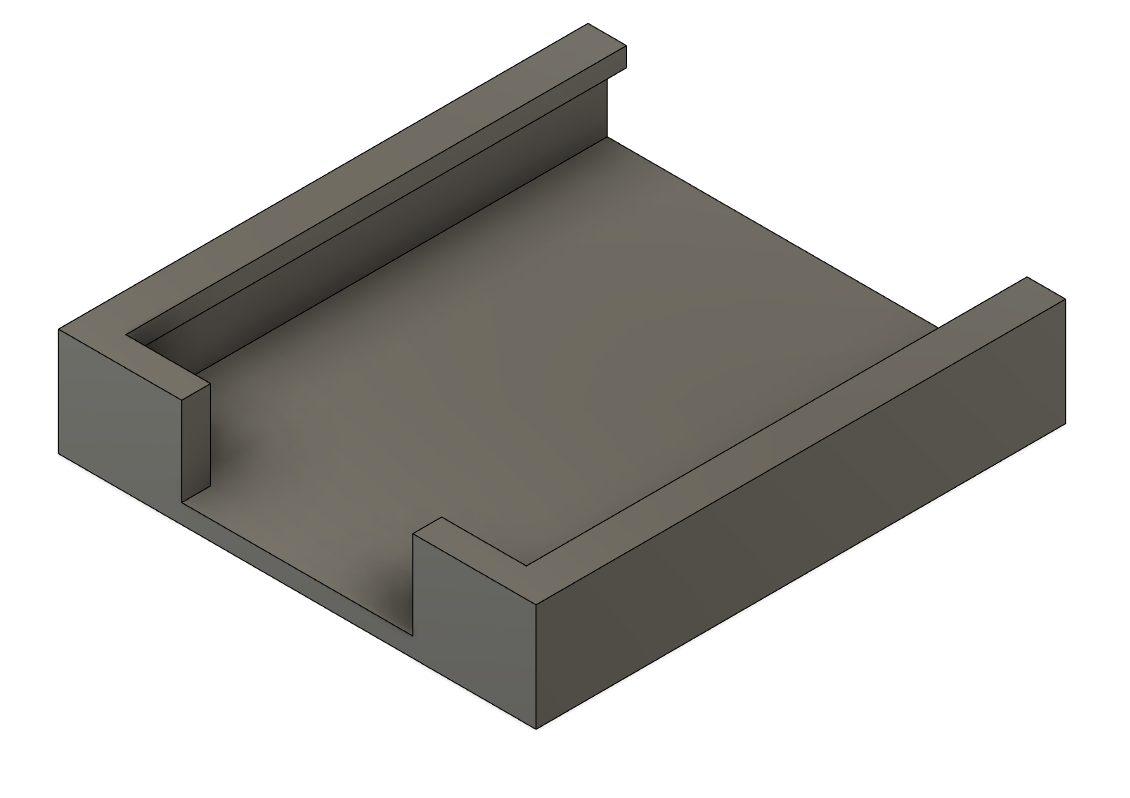
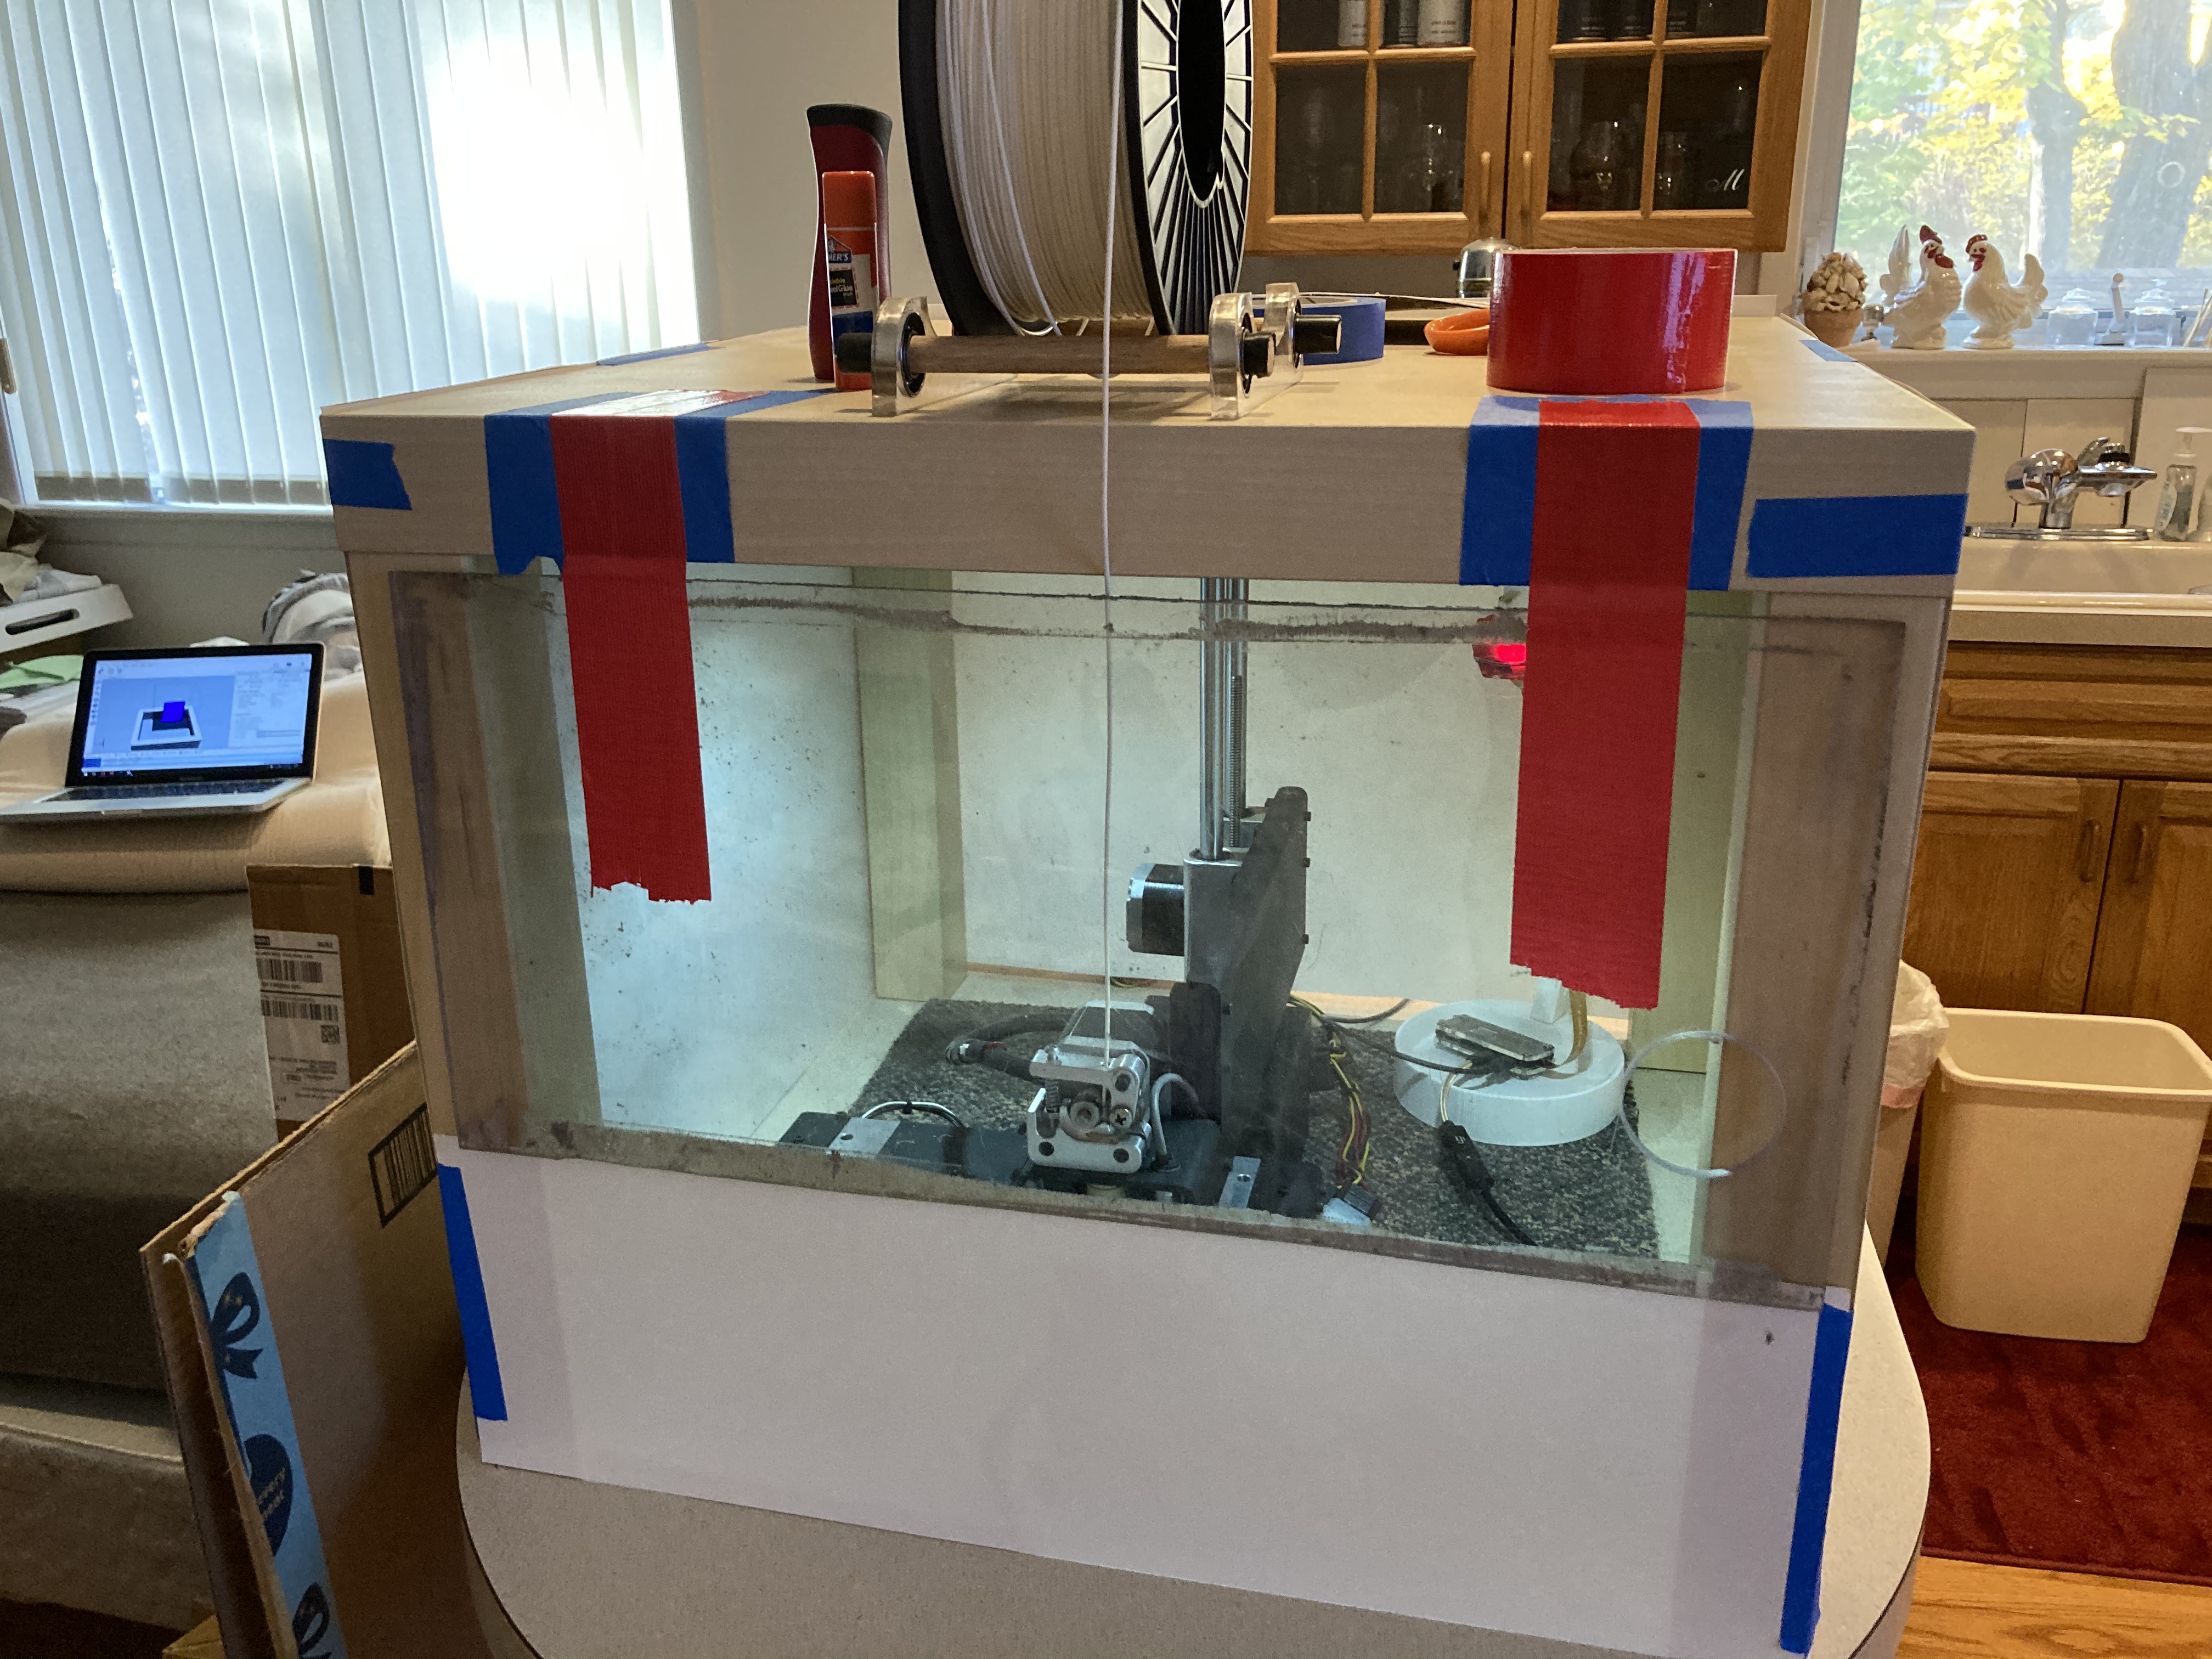
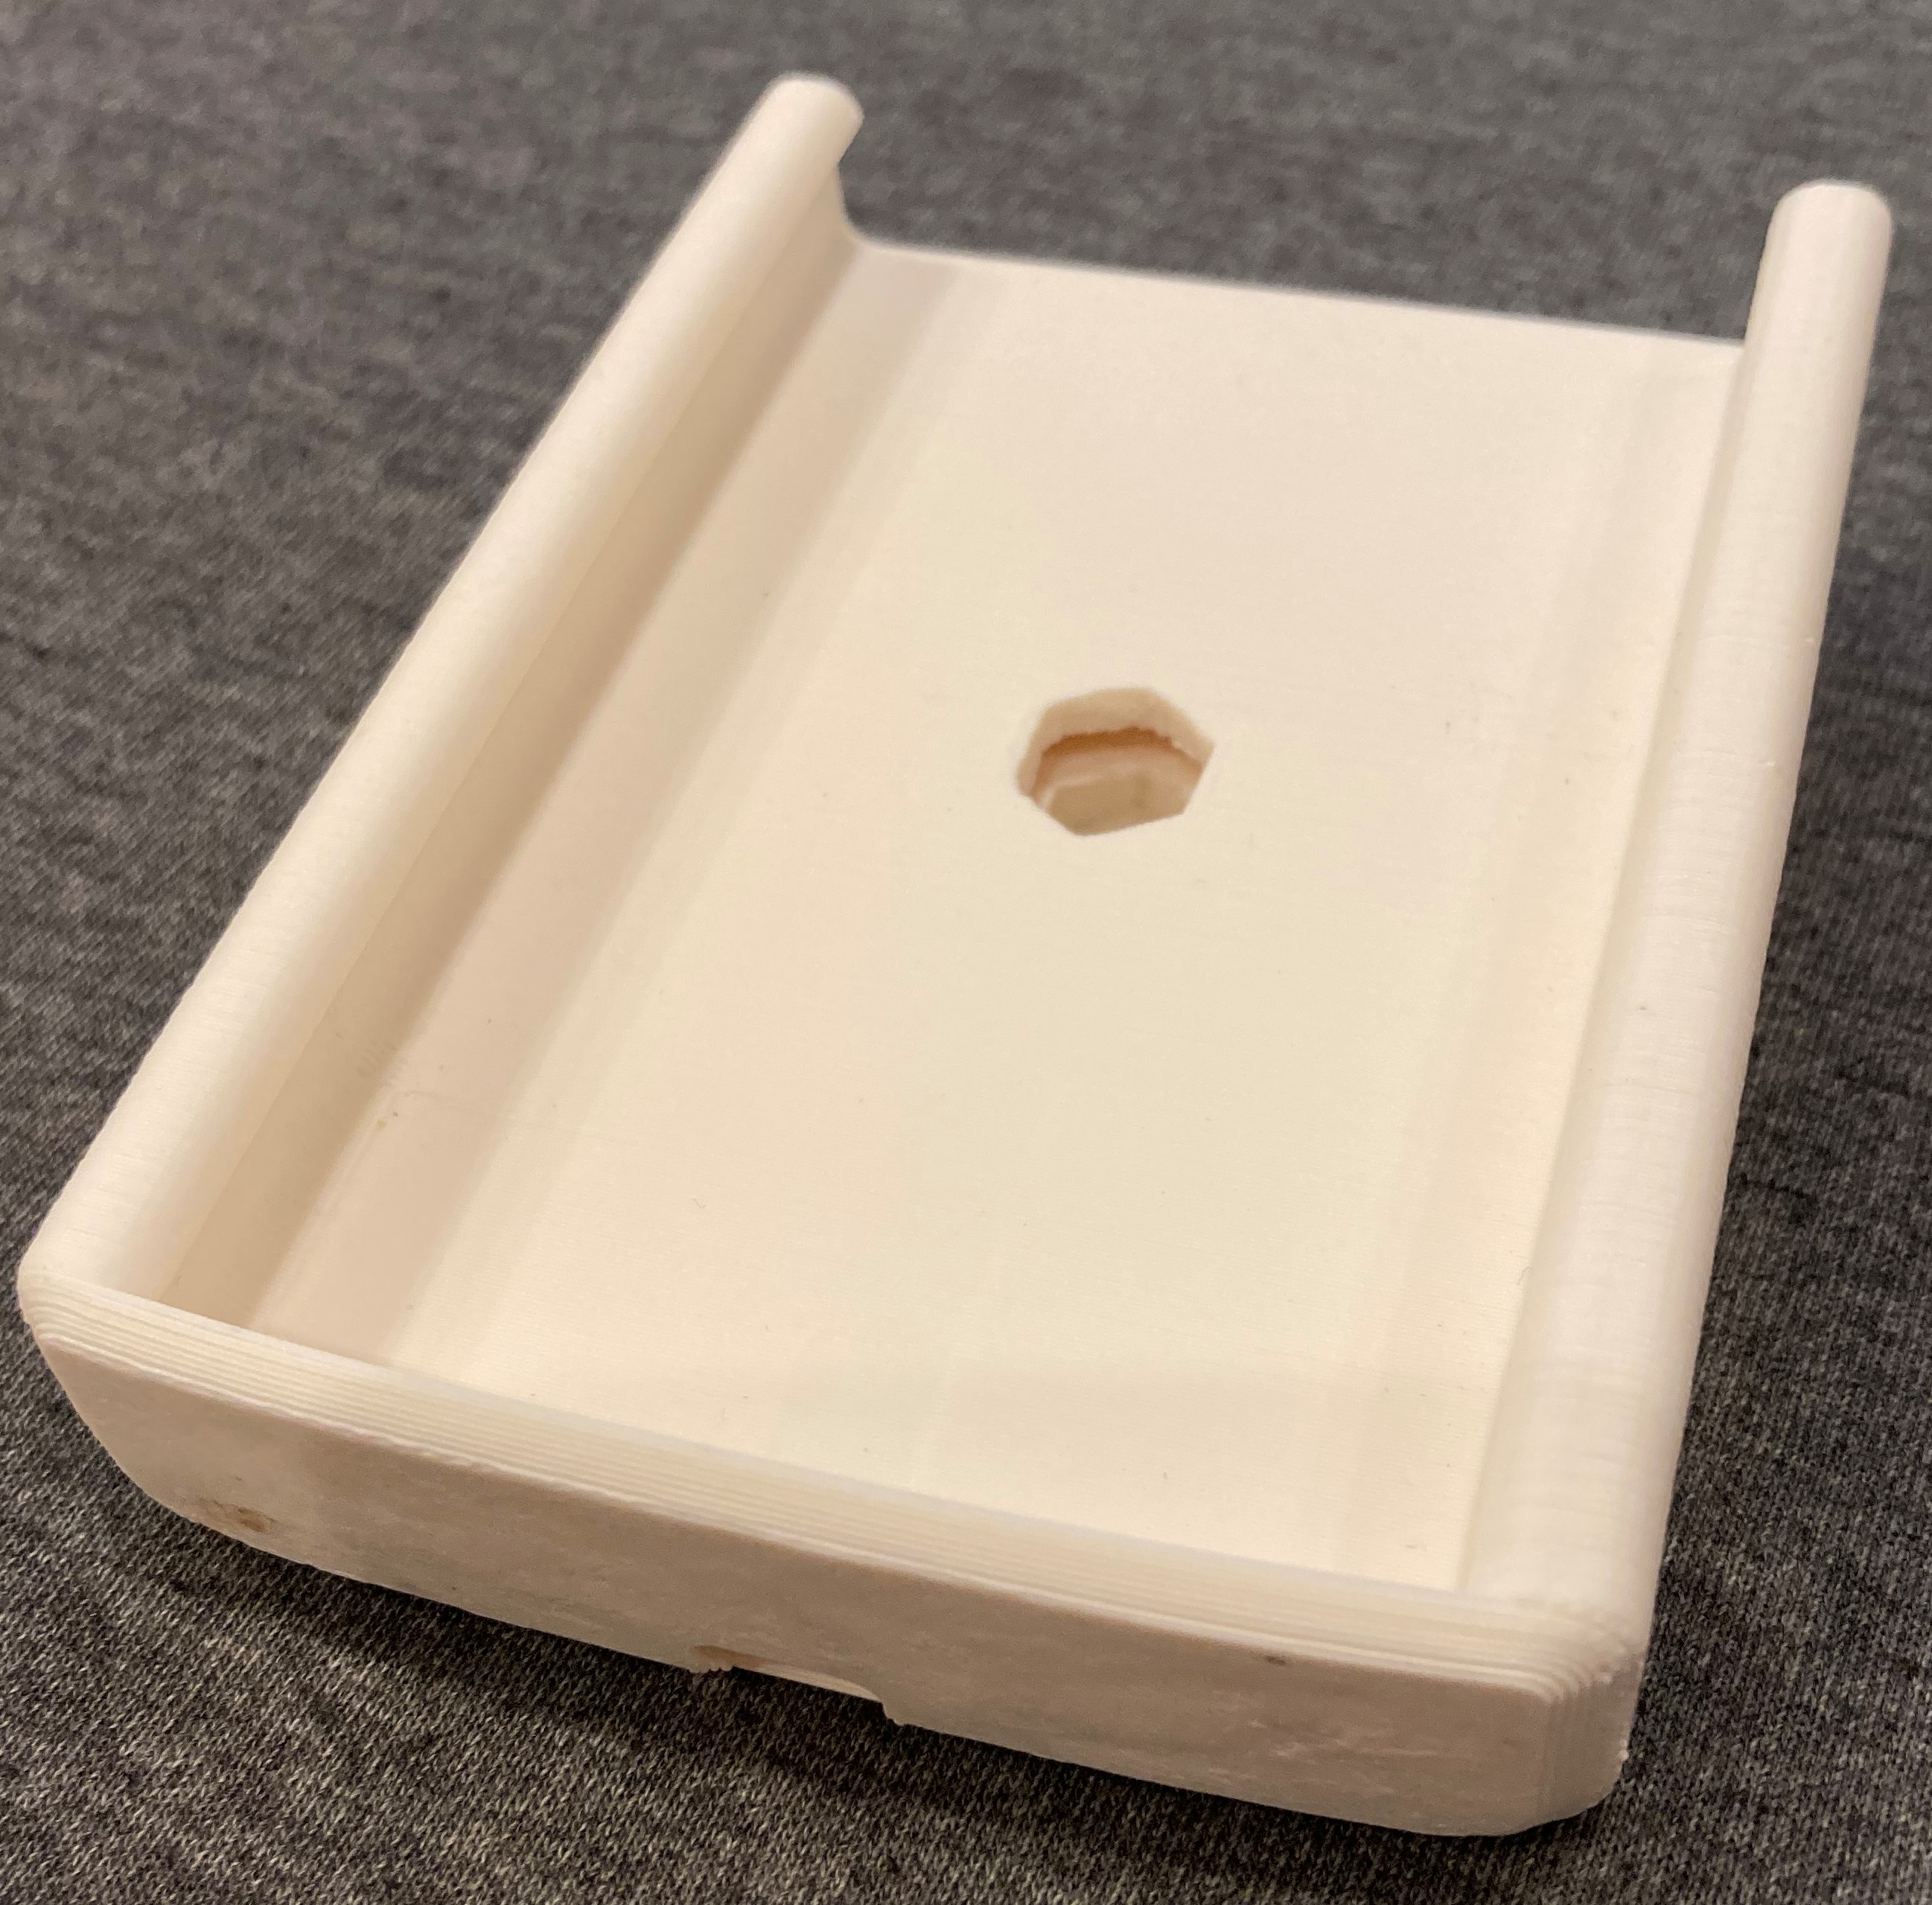
From this I printed a few test pieces, as I had to get my 3d printer running after sitting unused for a few years. It took a little dialing in but I started to get some good prints after putting it in an enclosure to keep the heat in.
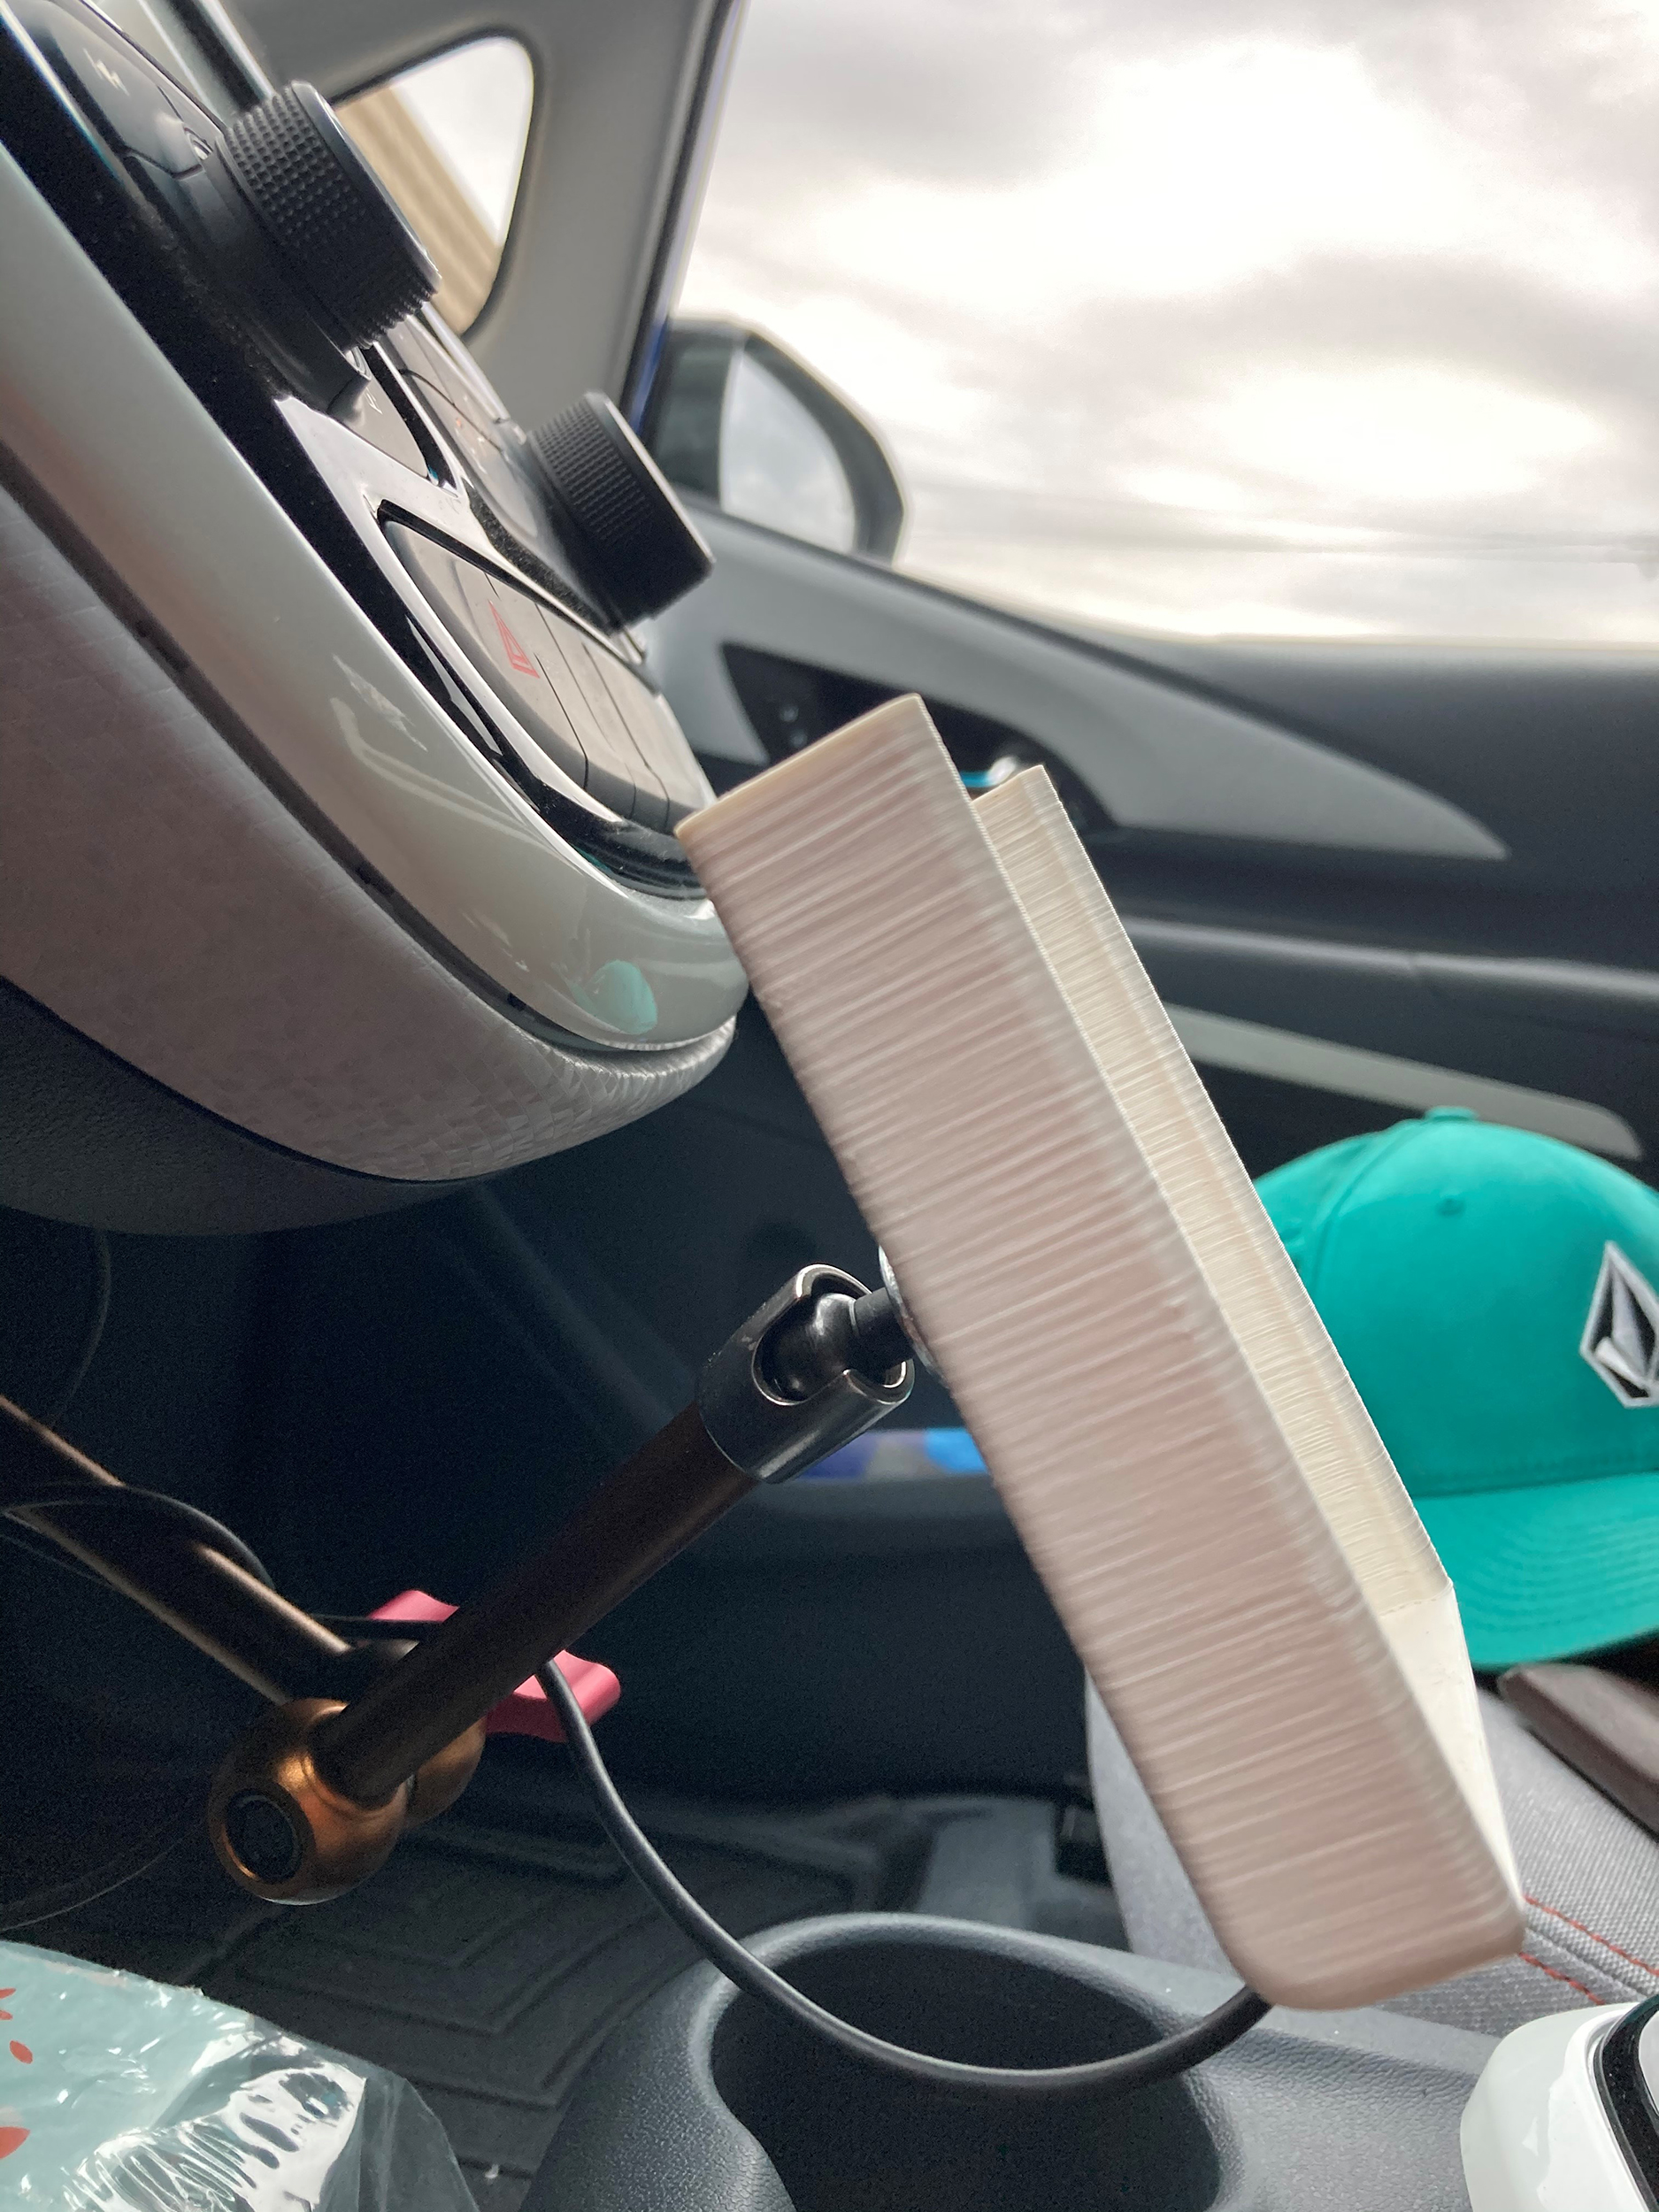
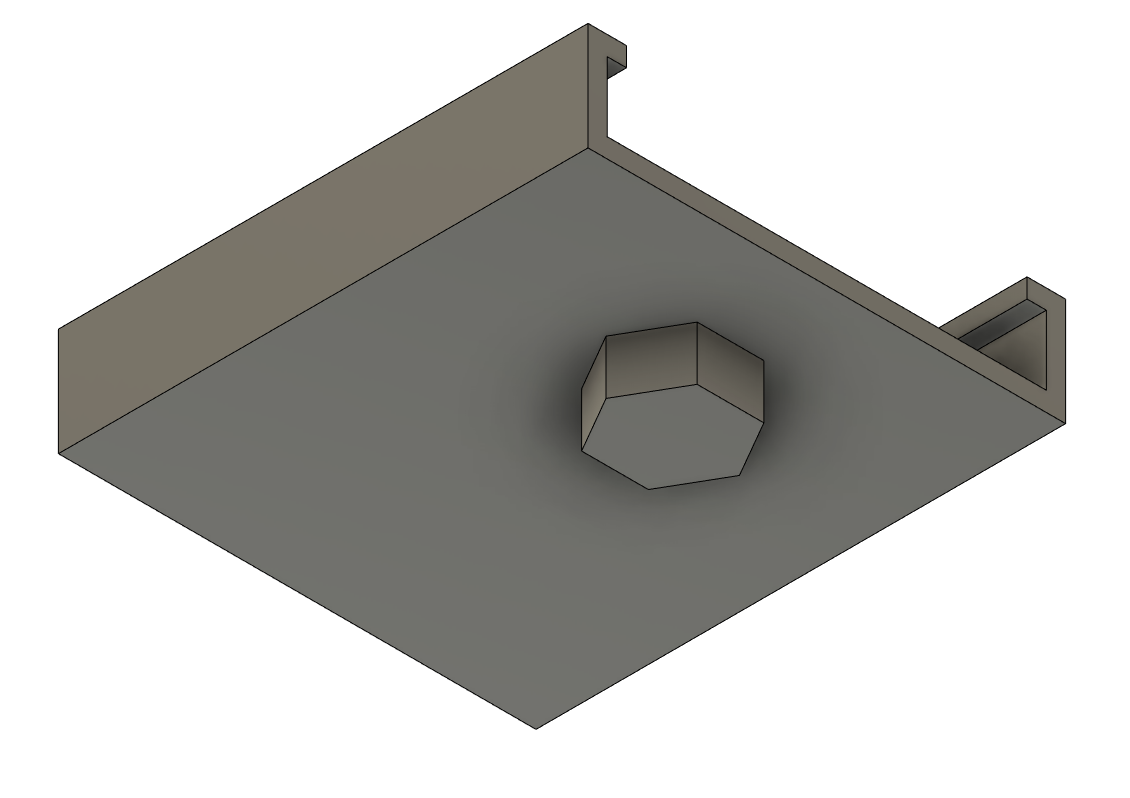
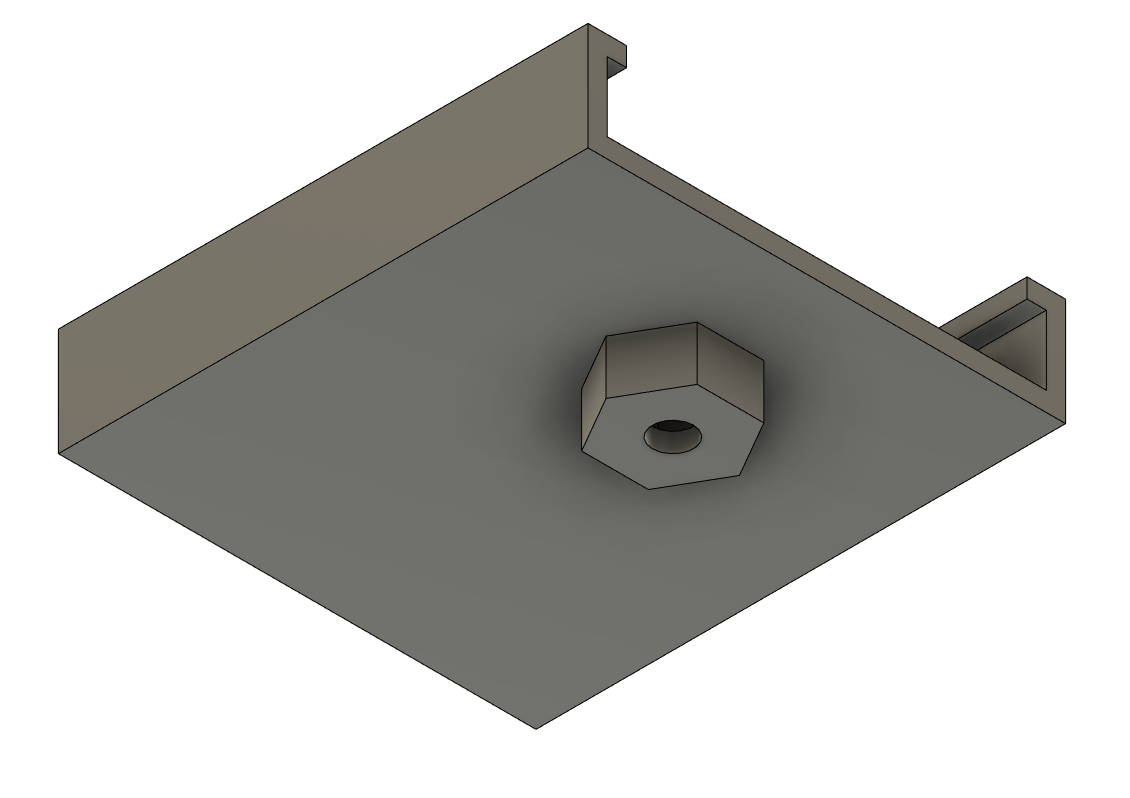
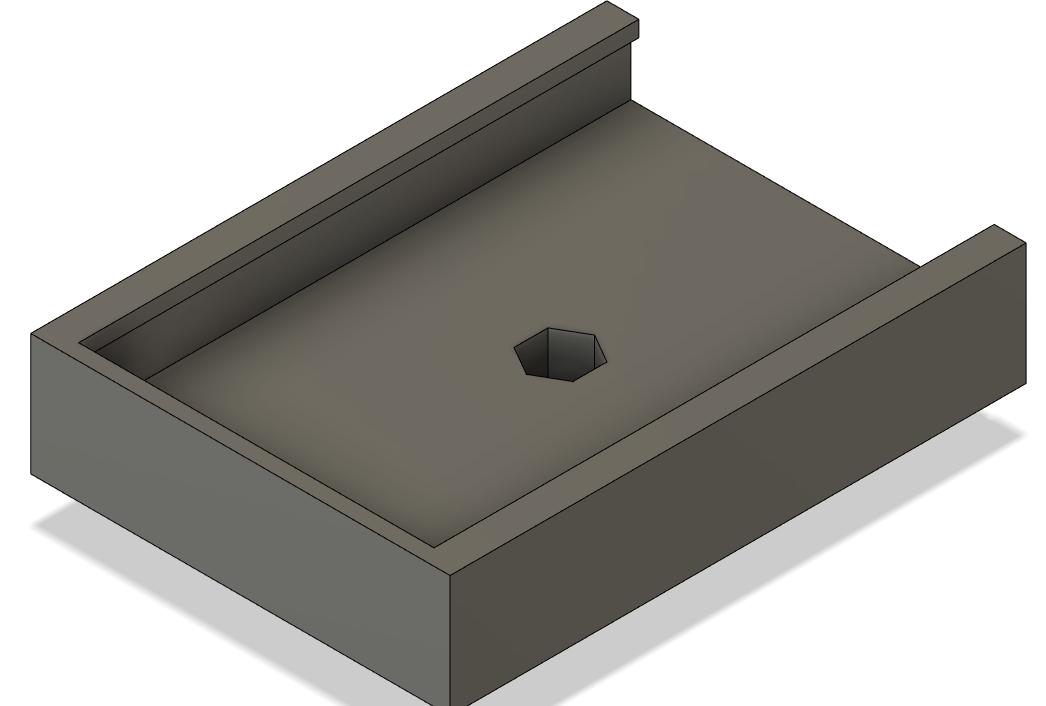
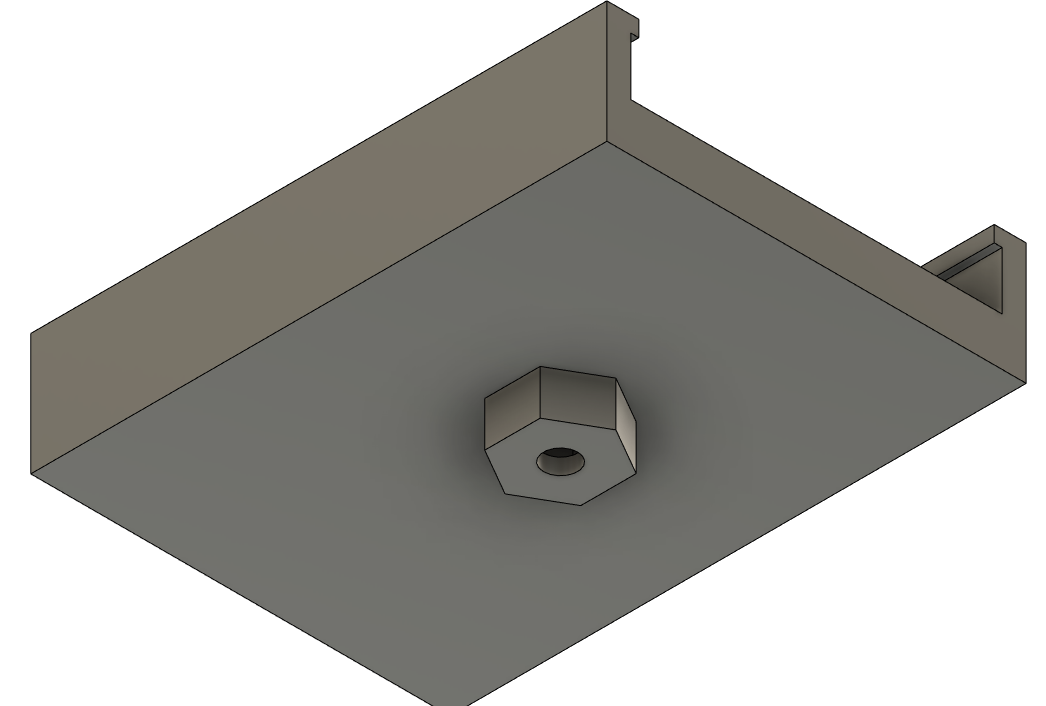
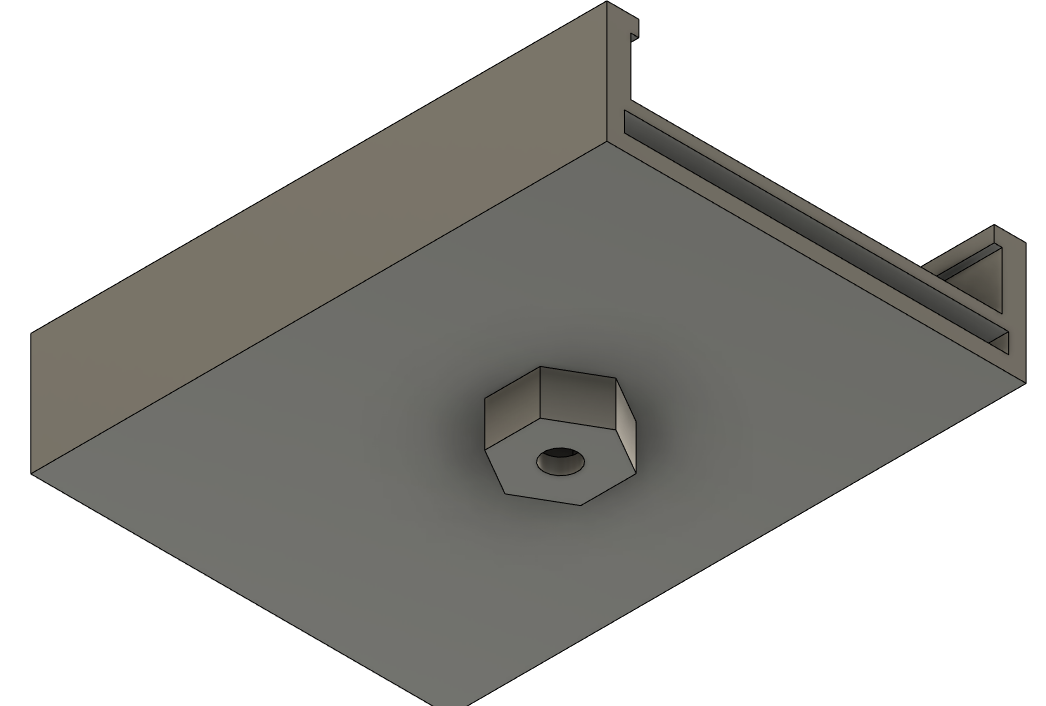
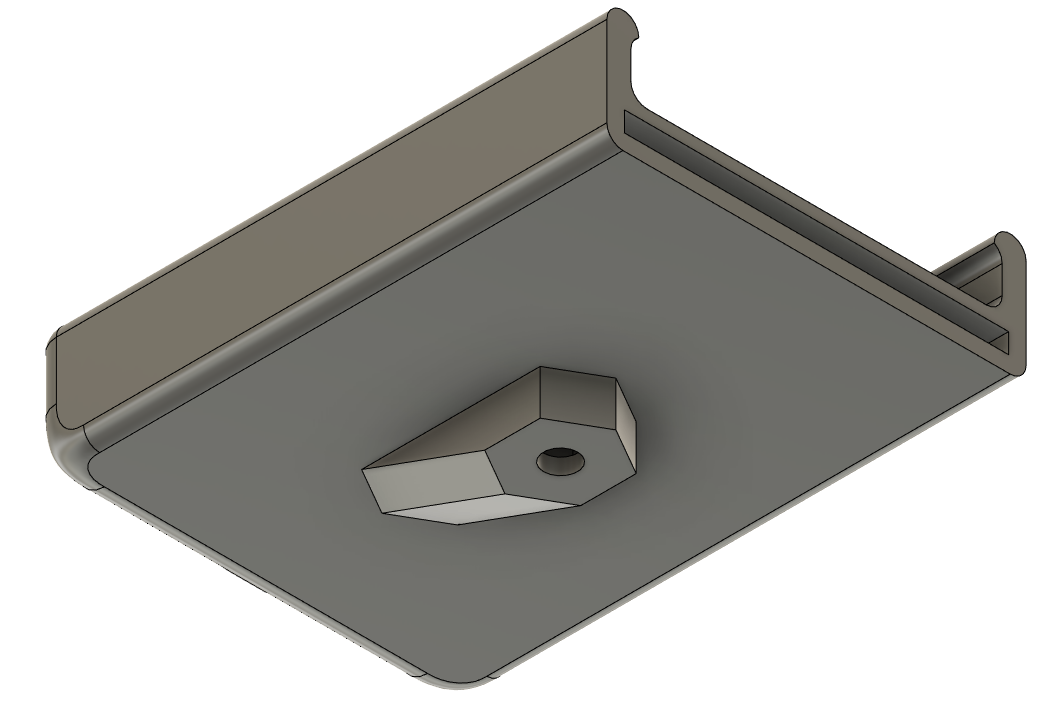
During these runs, I worked on dialing in the size of the hex cutout for a 1/4″-20 lock nut so I could connect it to the intended mounting arm. It is the same arm I used in my last car, a CAMVATE 11″ magic arm. These kinds of arms are used in film making and photography all the time to hold lights and other accessories (I actually use them for all sorts of projects, they make great helping hands for soldering with the addition of an alligator clip).

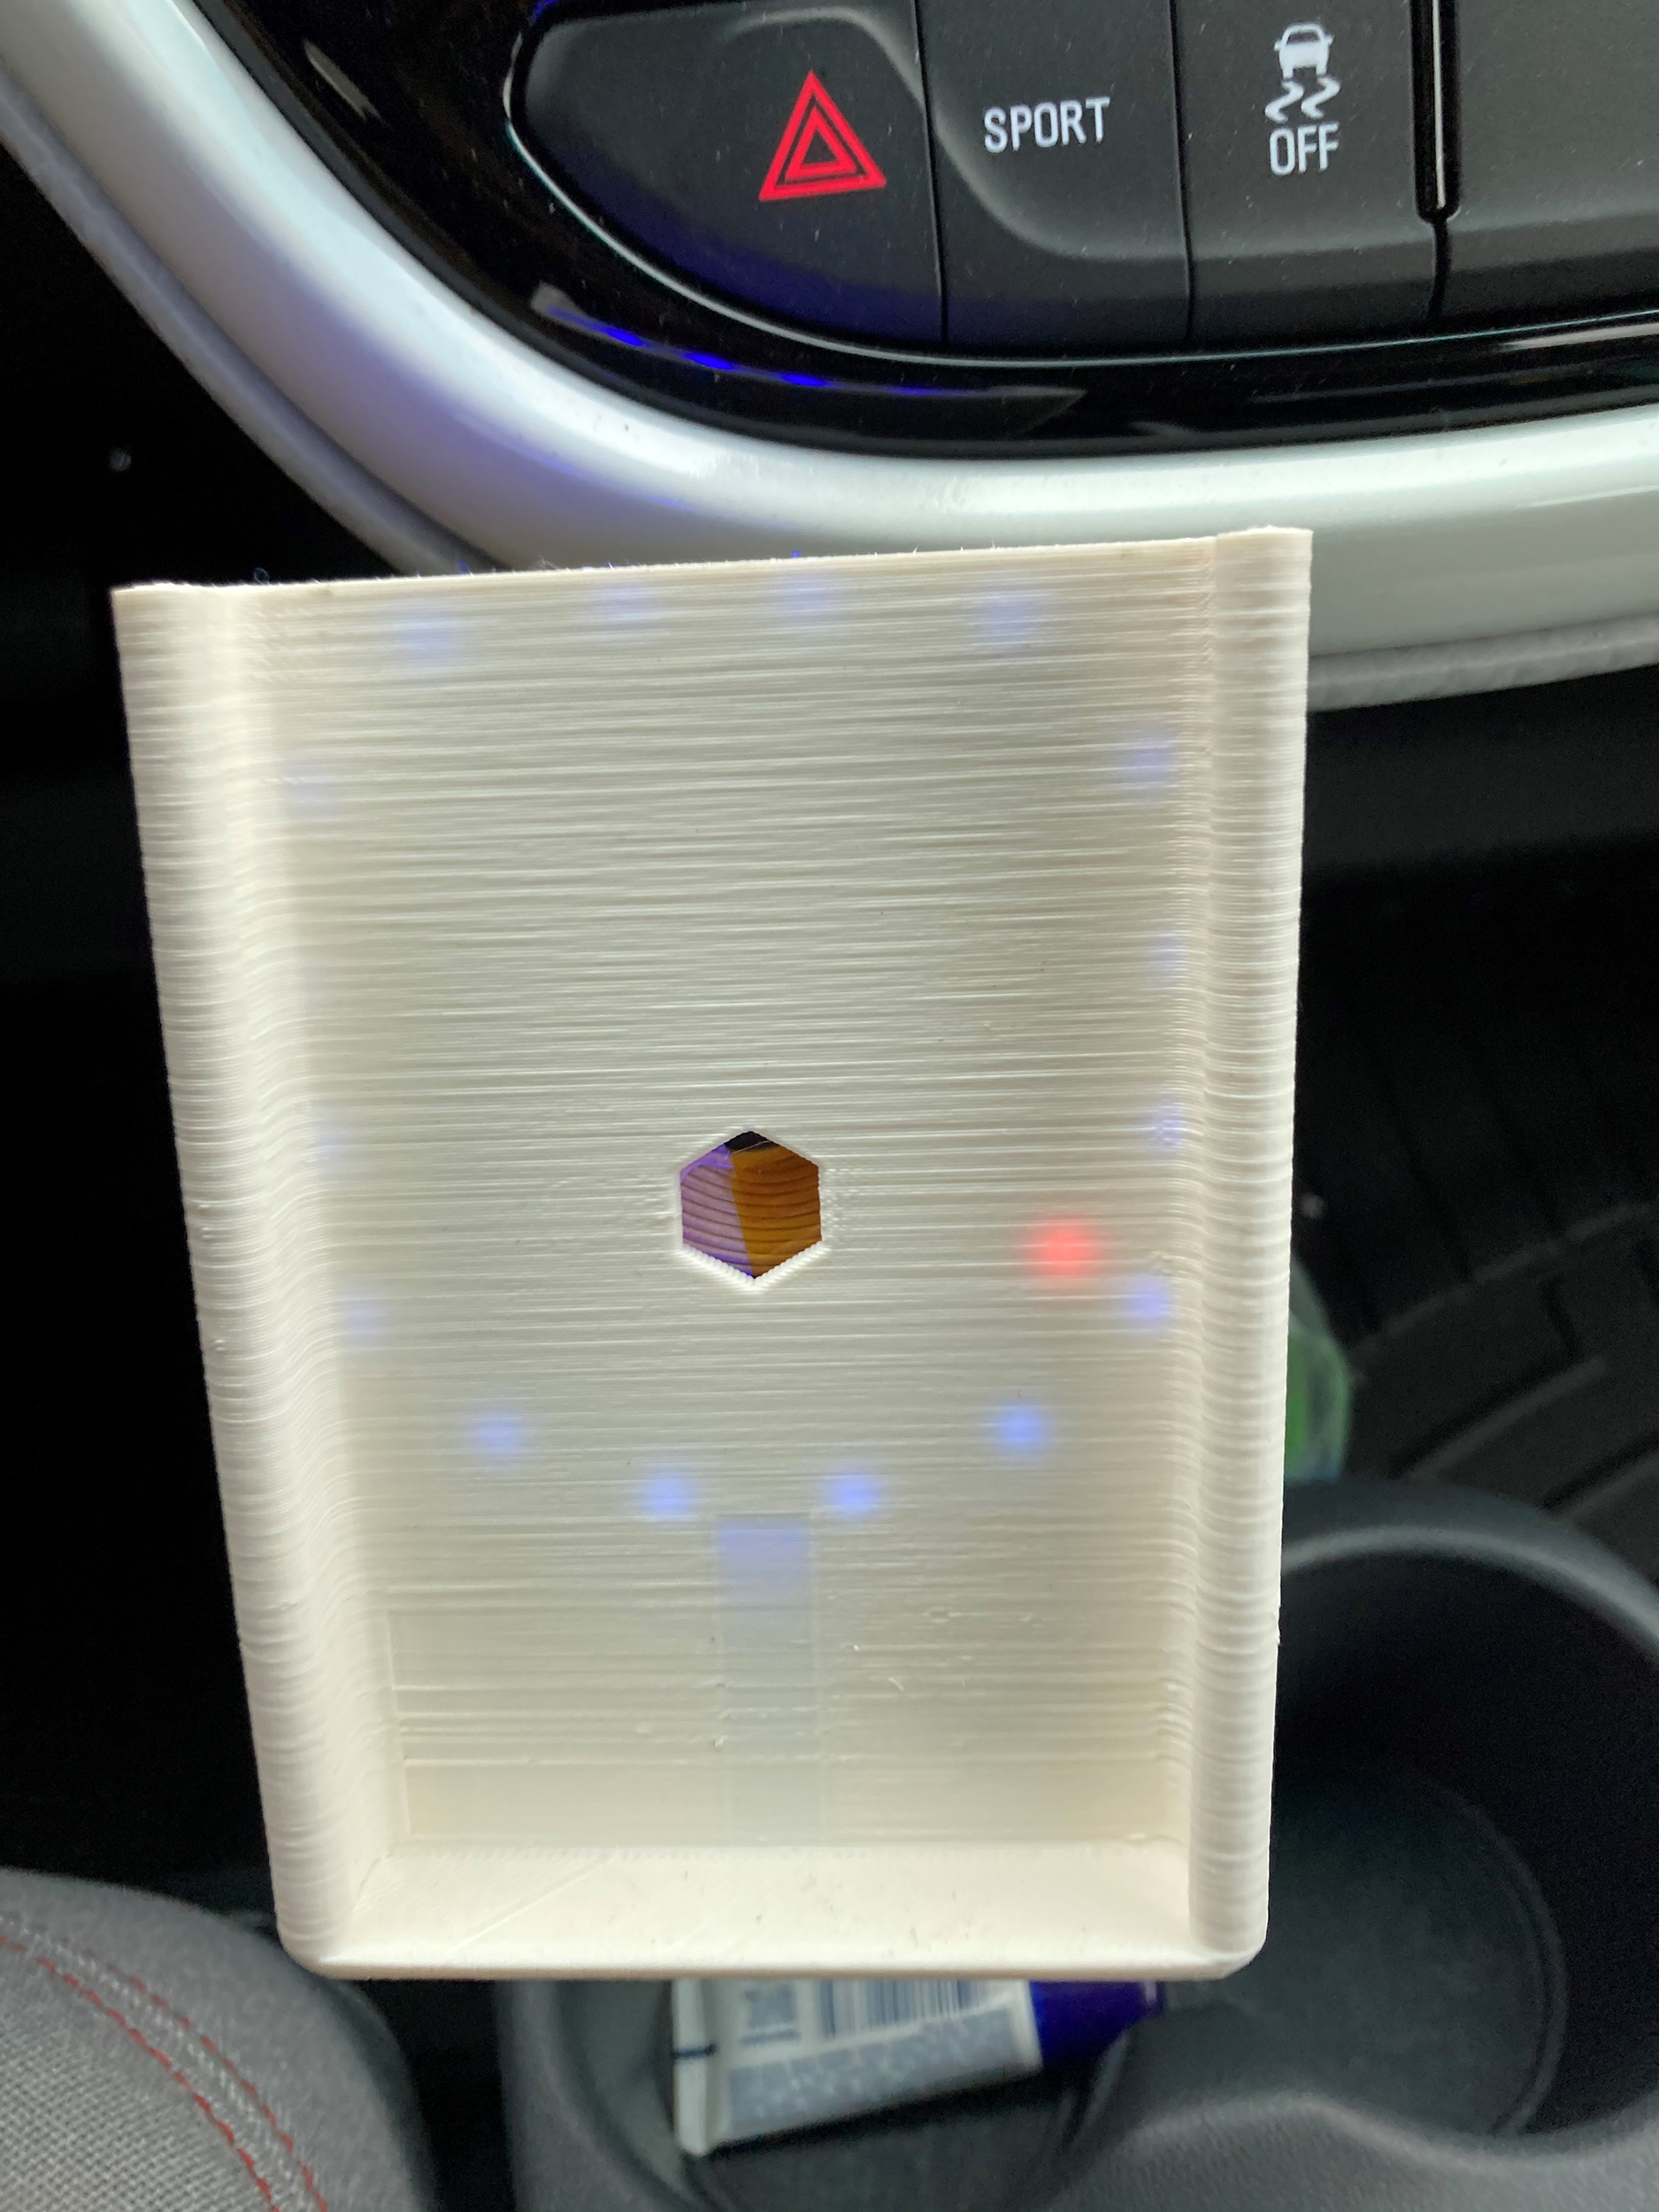
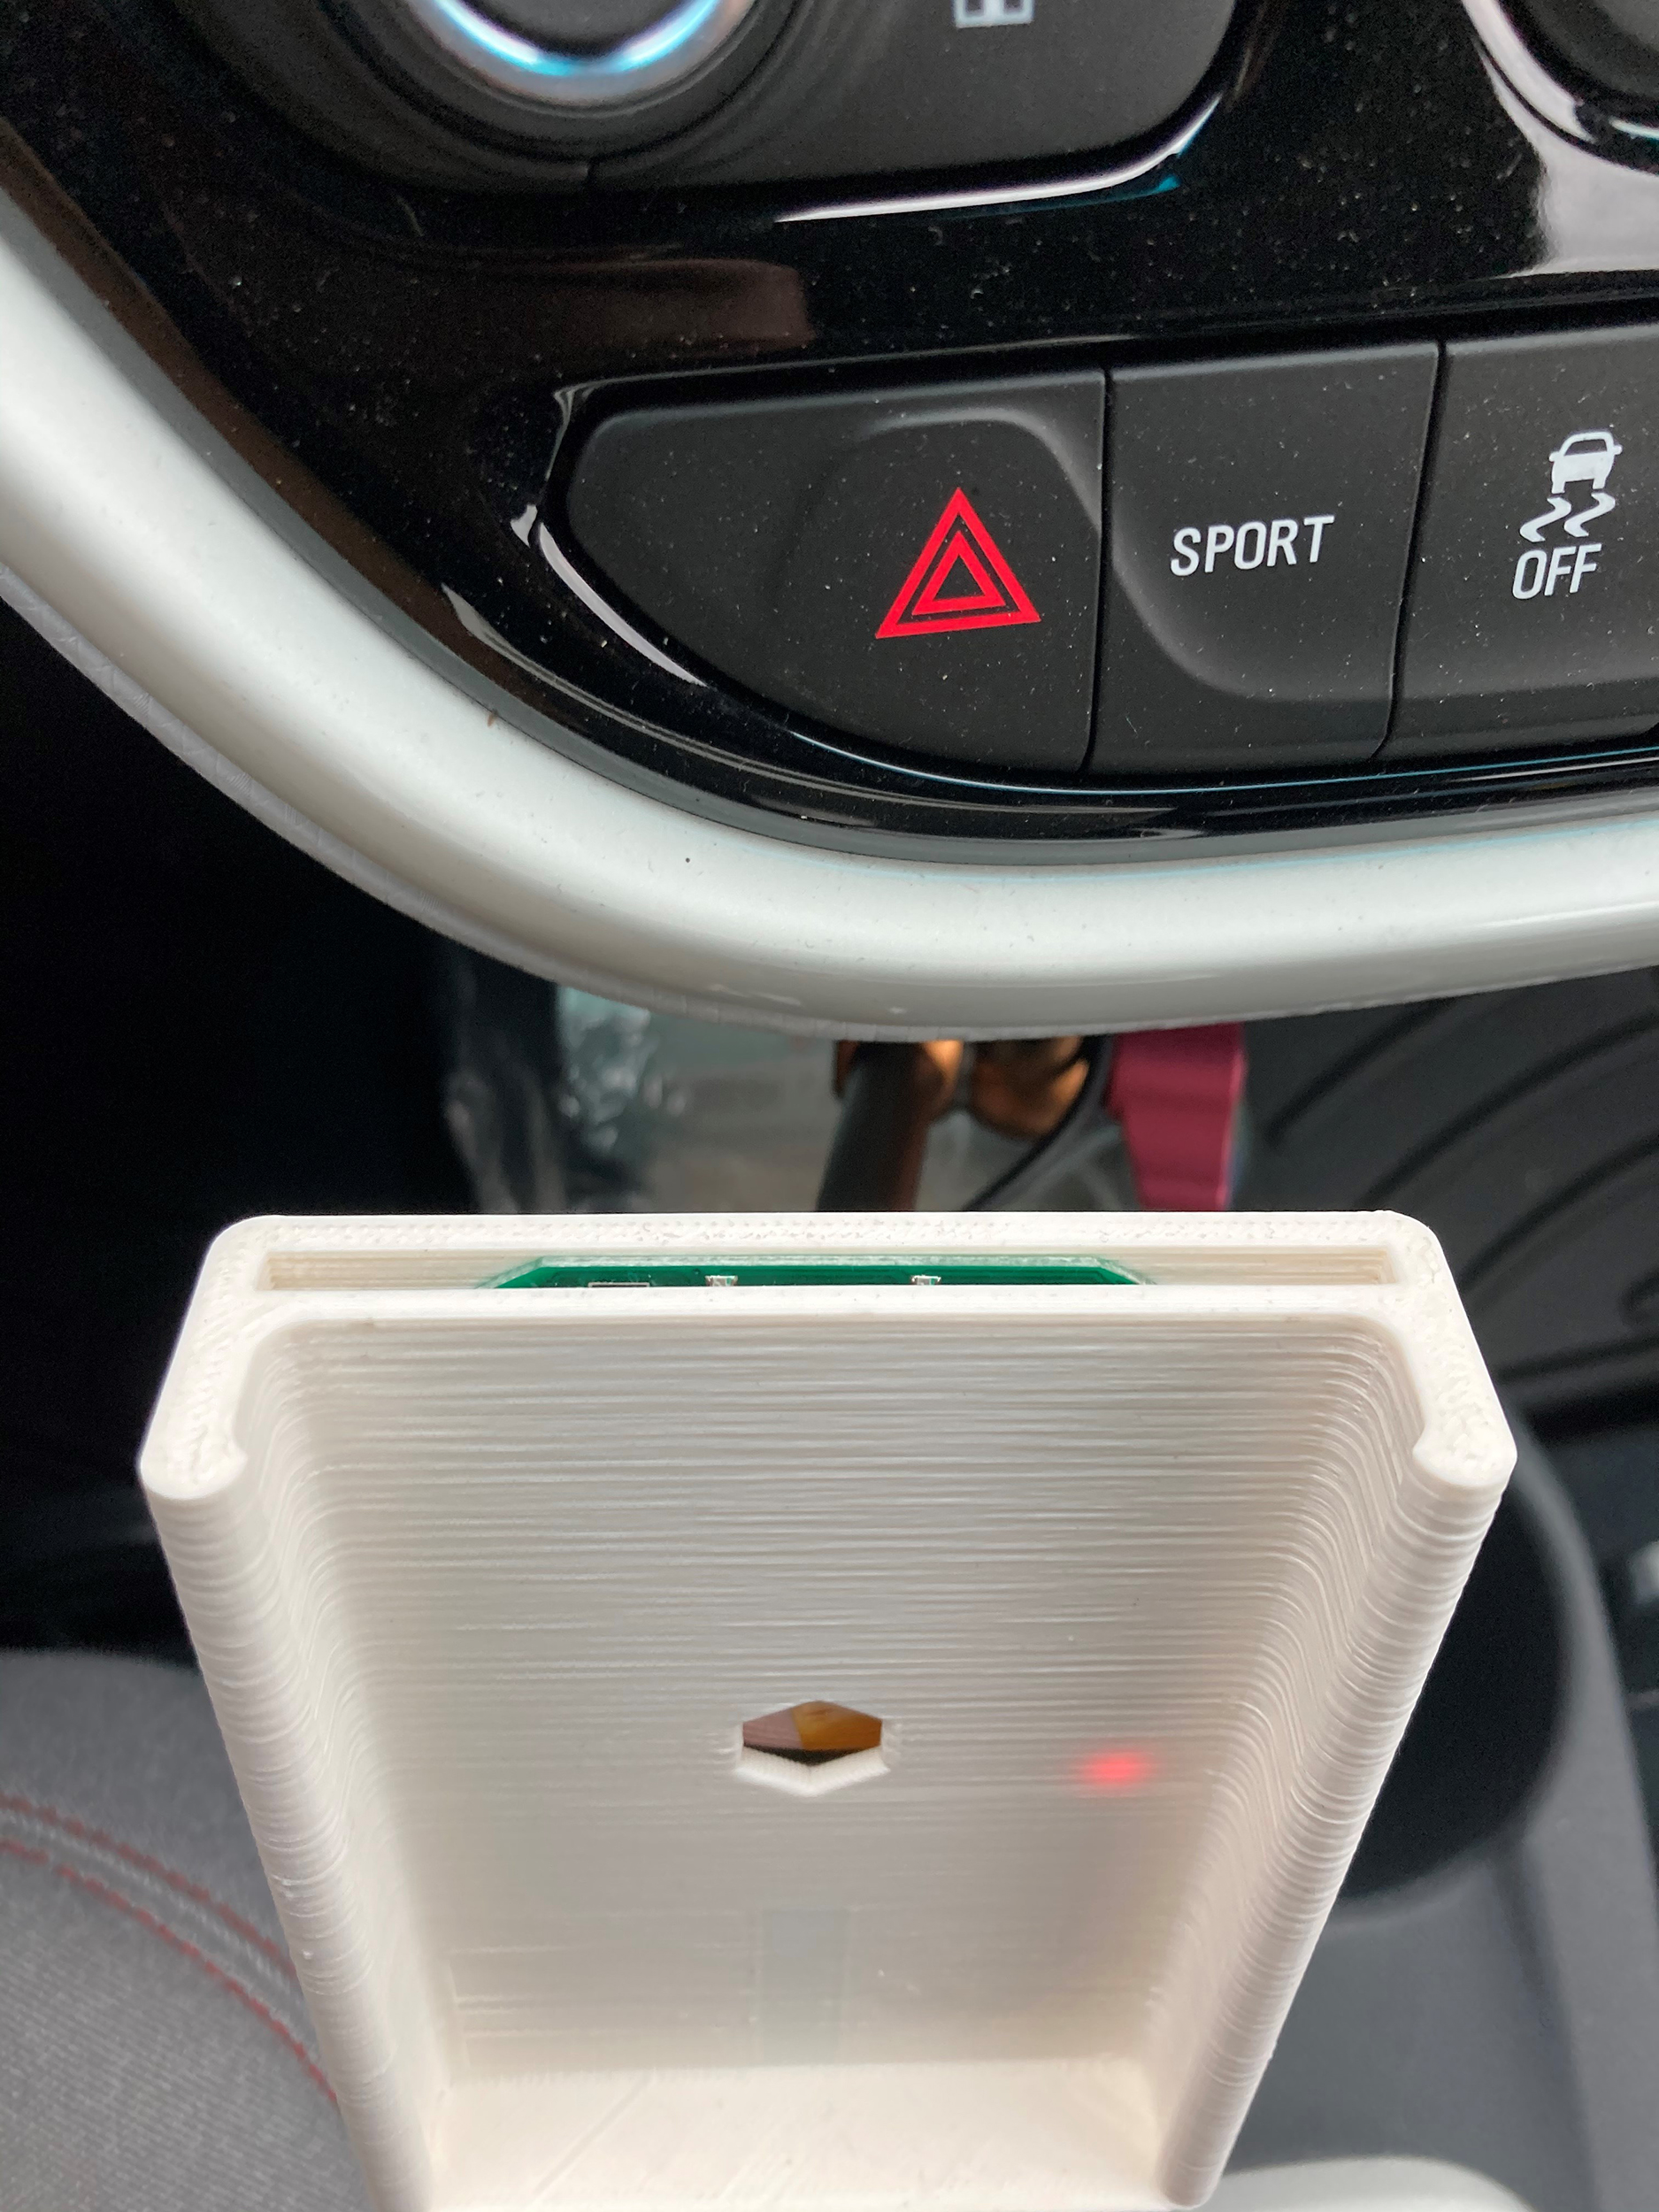
The next thing to figure out was how to add qi charging hardware. I discovered that PCB charger modules could be found on Amazon (of course) for not too much. I ended up grabbing this one which also added some status LEDs.
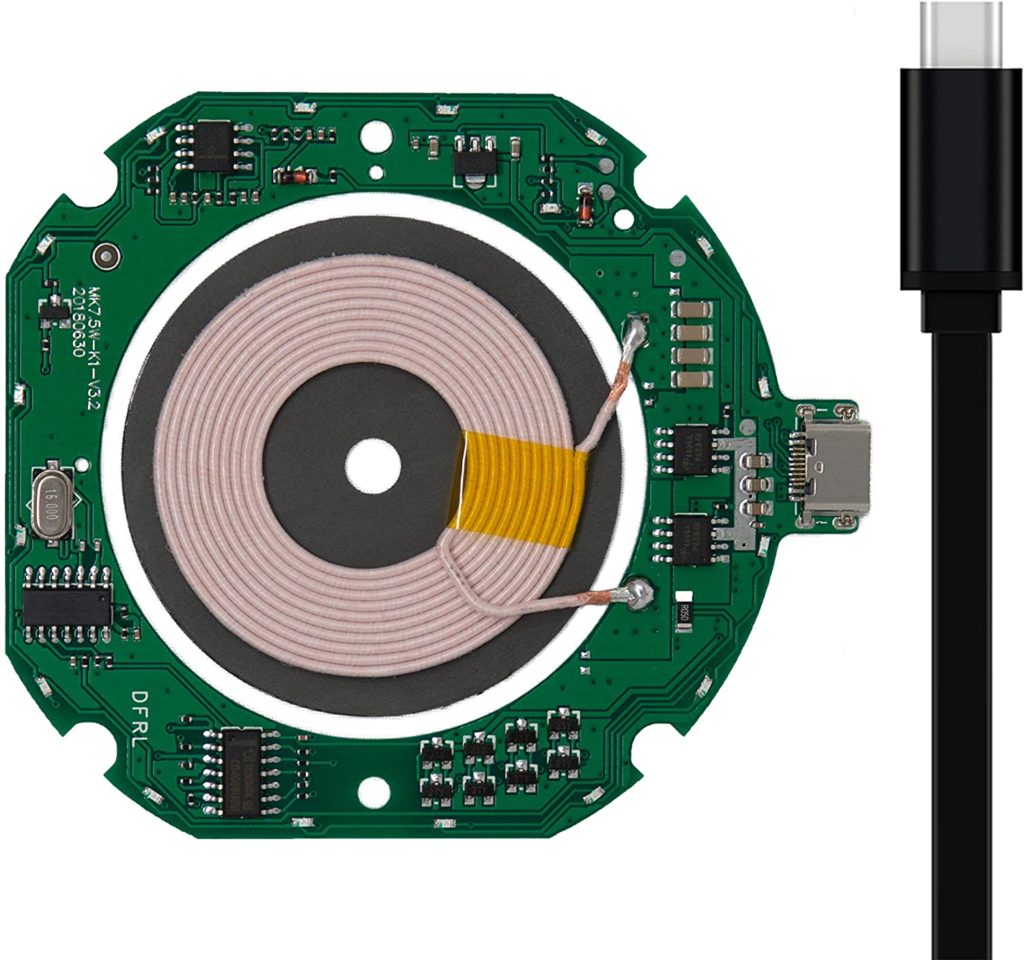
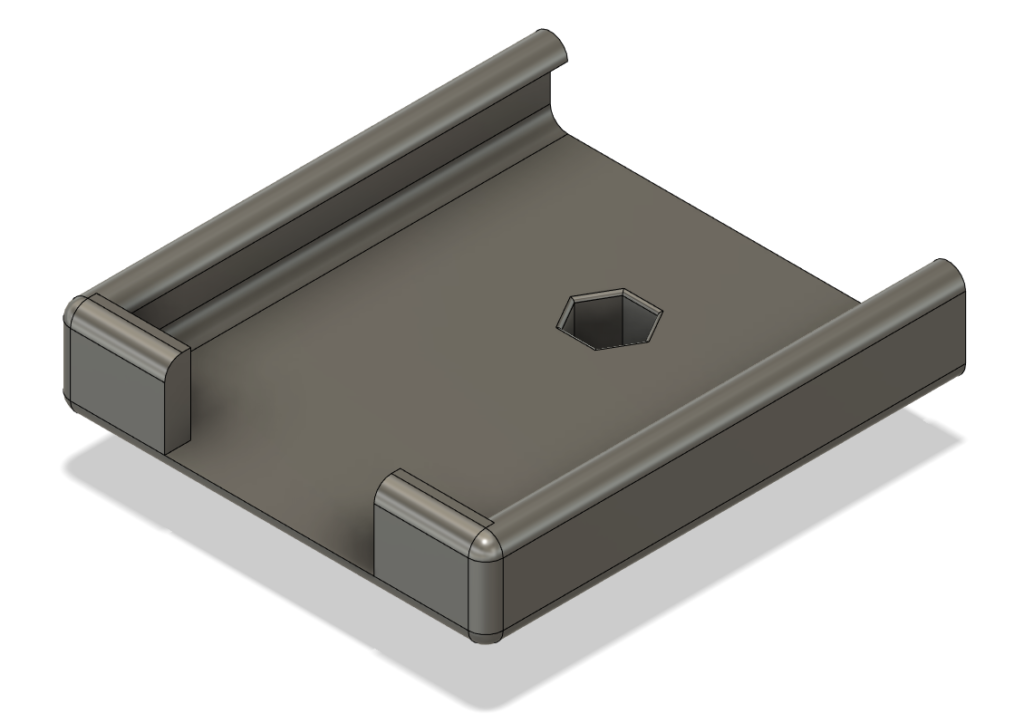
After receiving the module, I took it’s measurements and redesigned the mount with a slot for it to drop into and line up with the coil on my phone (iPhone SE 2020) for the most efficient charging.


Once I got a clean print, I connected the arm, dropped in the charger module, and rigged it to a temporary mount in the car.